🚀 Getting Started with Family Budget Tracker
Welcome! This step-by-step onboarding guide walks you through setting up your pay cycle, adding accounts with precision, uploading your first statement, and activating the Android mobile app.
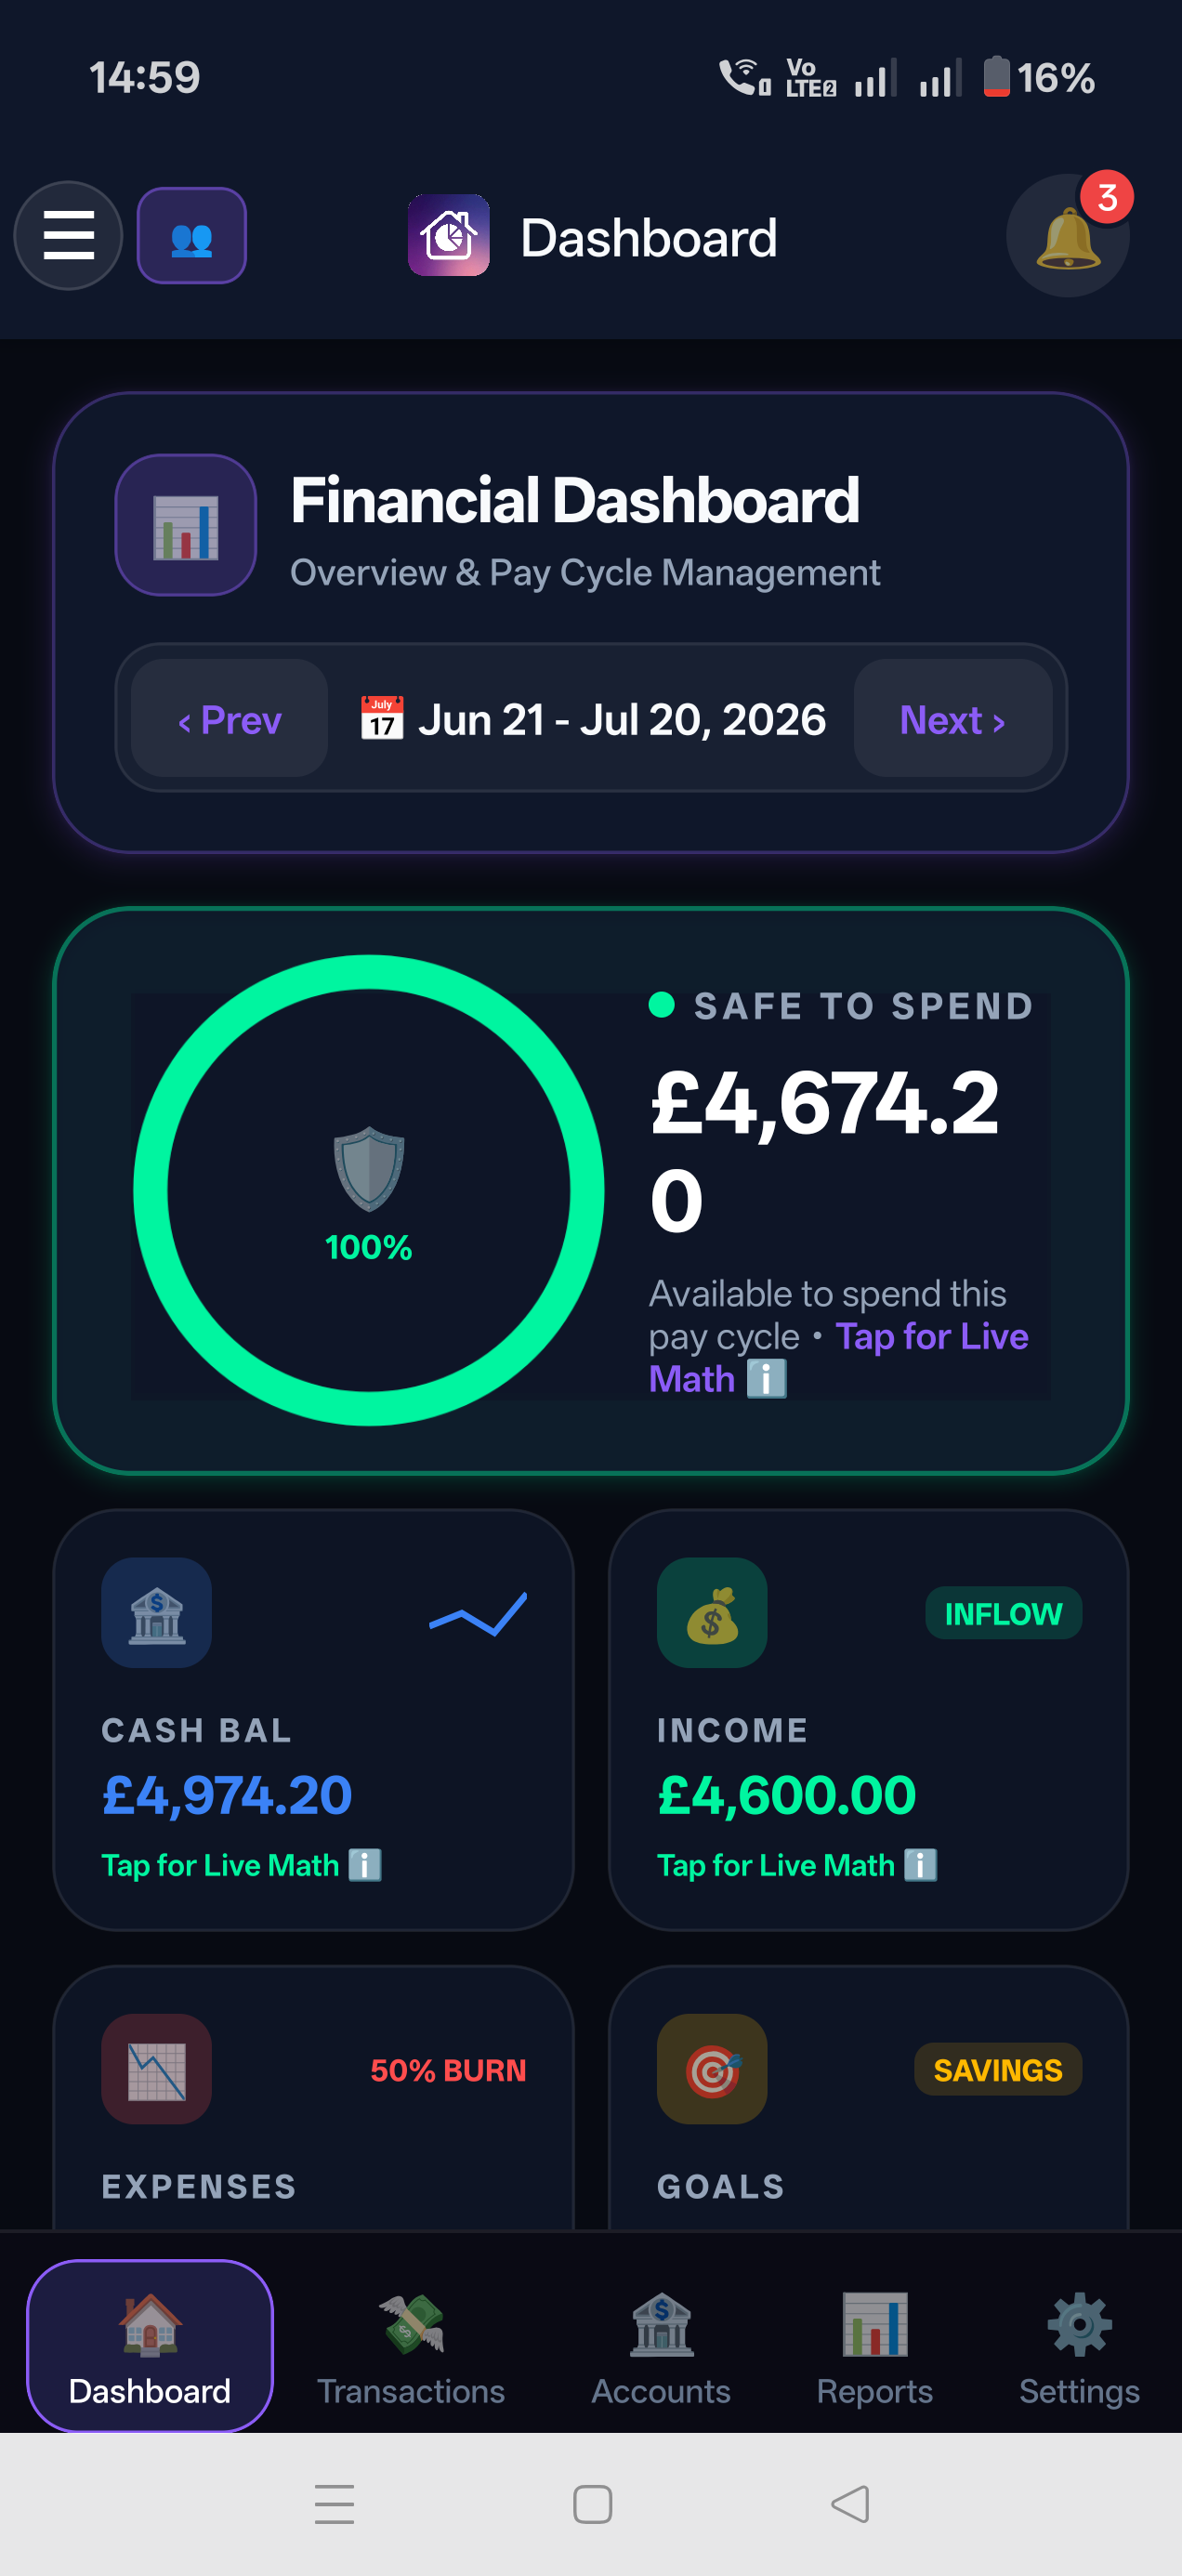
Step 1: Create Your Account
- Visit family-budget.getdigraw.com.
- Click "Sign Up" and select your preferred plan (Free Solo, Premium Solo, or Premium Family).
- Enter your email and a strong password (or continue with Google Single Sign-On).
- Confirm your email address if prompted, then log in.
Step 2: Configure Your Pay Cycle
Unlike traditional budgeting tools locked into calendar months, Family Budget Tracker calculates your Safe to Spend cash flow based on when you actually receive your income.
- Navigate to Settings → Pay Cycle Settings.
- Choose your pay frequency:
- Monthly: Select your monthly payday (e.g. 25th of each month).
- Bi-weekly: Every 14 days based on an anchor date.
- Weekly: Every 7 days based on your pay day of the week.
- Click "Save Settings". Your entire dashboard will now align with your real pay window.
Step 3: Add Your Bank & Credit Accounts
Accurate account setup gives Safe to Spend and cash-flow calculations a reliable starting point.
- Go to Accounts and click "+ Add Account".
- Enter the Account Name (e.g. "Barclays Main Current", "Amex Everyday CC").
- Select the Account Type (Bank Account, Credit Card, Savings, Investment, or Mortgage).
- Select your currency (GBP £, USD $, EUR €, INR ₹, etc.).
- Set Initial Balance & Date (CRITICAL RULE):
- Enter the exact closing balance from the day immediately preceding your uploaded statements.
- Example: If your statement begins on March 1st, set the Initial Balance Date to February 28th with the February 28th closing balance.
- Bank & Savings Accounts: Positive values (e.g.
2500.00). - Credit Cards: Negative values representing outstanding liability (e.g.
-450.00).
- Budgeting Account Checkbox: Check this for cash-flow accounts (Checking, Credit Cards). Leave unchecked for long-term investments, pensions, or mortgages so asset balances do not distort daily spendable cash.
Step 4: Bring In Your Transactions
The Dashboard asks how you want to bring in transactions. Pick any one to finish setup; you can add the others later.
- Share from your bank app (Android): share a statement PDF from your bank app to Family Budget Tracker. See AI Statement Vault.
- Statement upload: upload a PDF or image statement (steps below).
- Magic Drop: drop statements into a shared Google Drive folder. See the Magic Drop guide.
- Bank sync: connect your own provider, where available. See Bank Sync.
Statement upload gives automated transaction extraction with balance reconciliation:
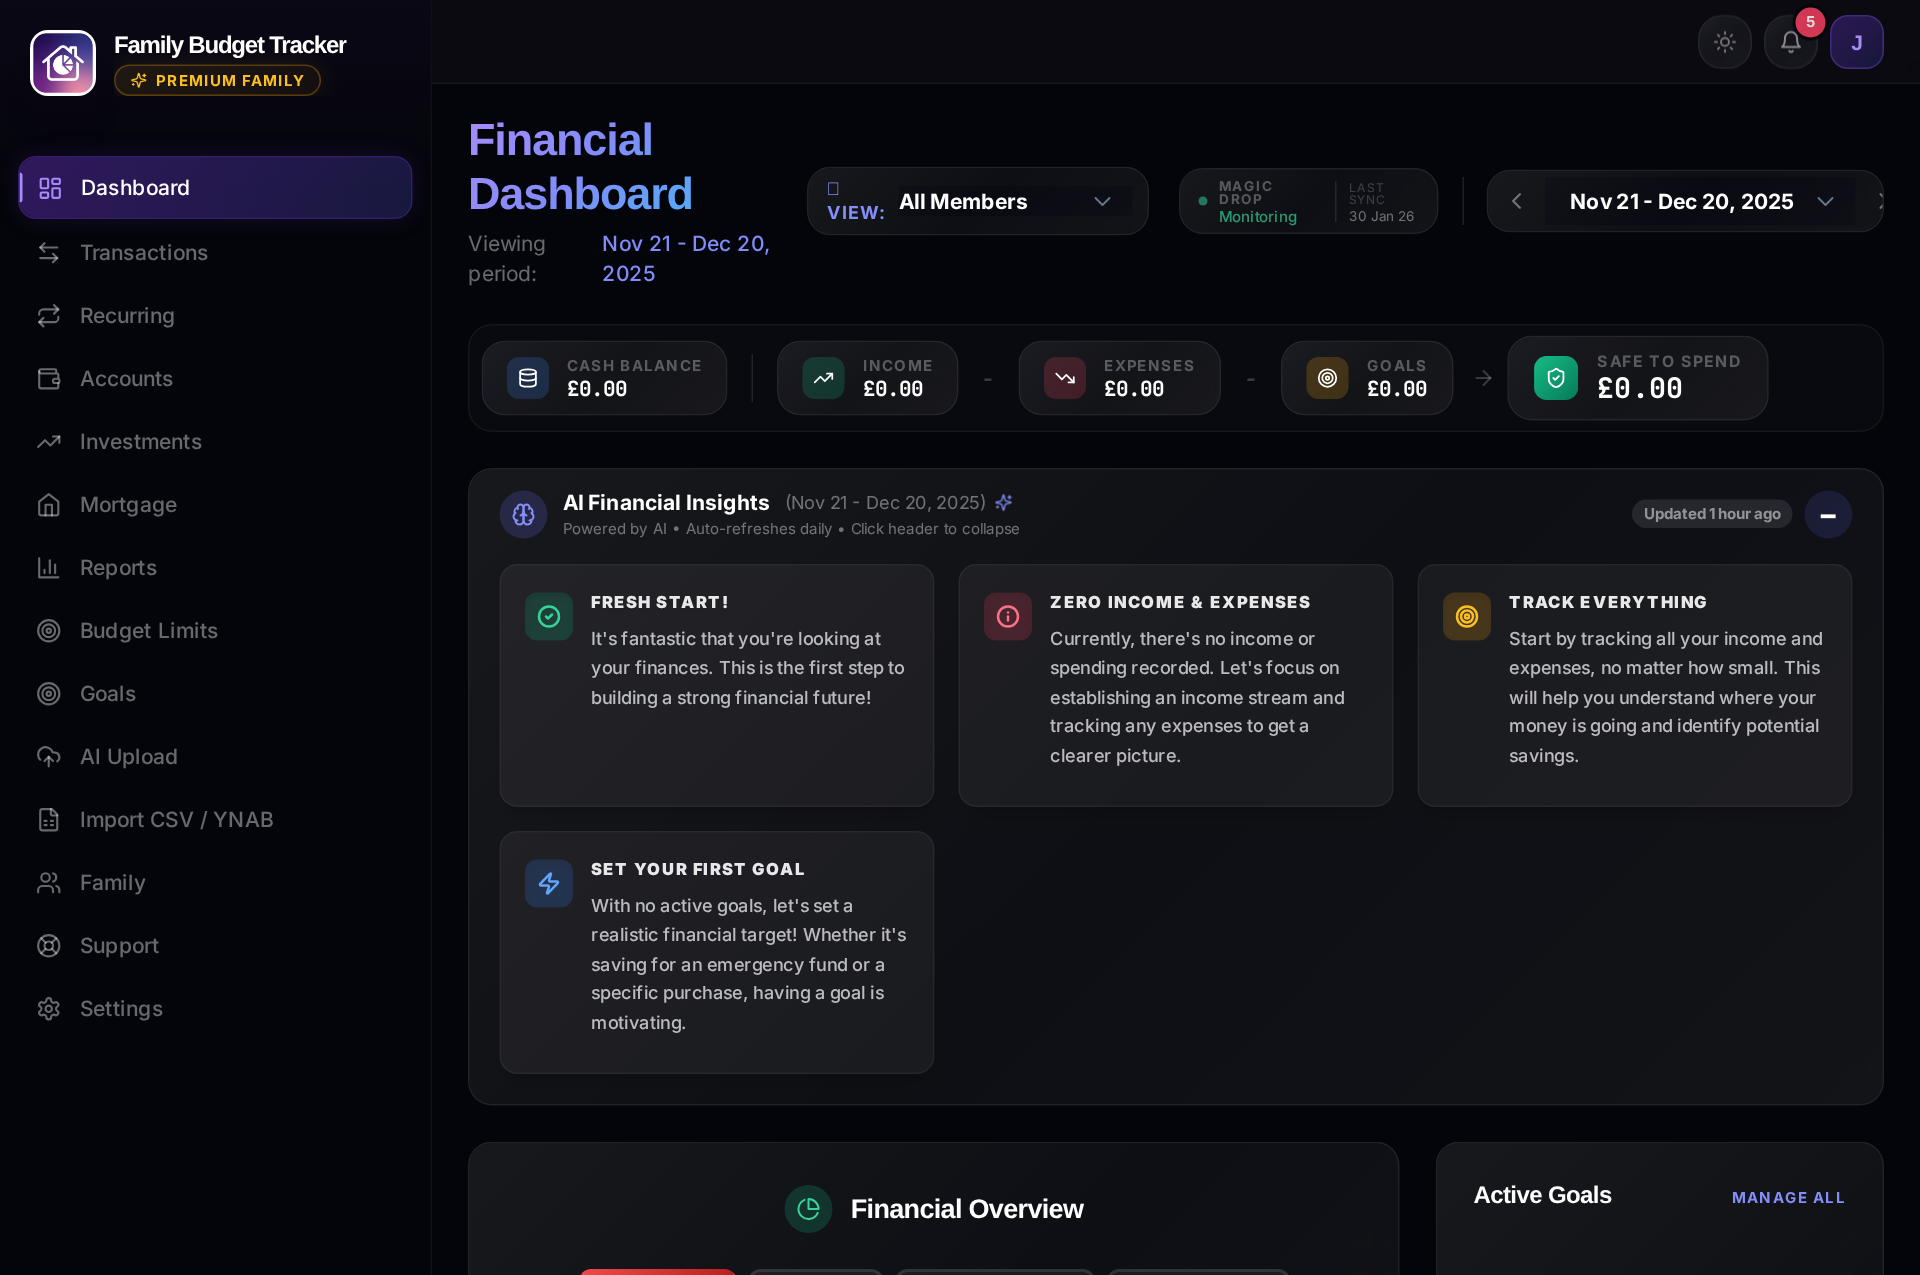
- Go to AI Statement Upload and select the target account.
- Drag & drop your PDF statement or image scan (up to 10 pages).
- Google Gemini vision AI extracts all transactions, dates, amounts, descriptions, and auto-categorizes them.
- Multi-Account Detection: If your PDF contains multiple accounts (e.g. Current Account + Linked Savings/ISA), the system automatically splits them into separate accounts.
- Reconciliation Score:
- Reconciled result: Opening balance plus extracted net activity matches the statement closing balance.
- Review detected transactions, adjust any categories if desired, and click "Confirm & Save" to commit to your ledger.
Step 5: Choose Your Budgeting Style (Track Only vs. Zero-Based Envelopes)
Family Budget Tracker accommodates both lightweight tracking and strict cash allocation:
- Option A: Track Only Mode (Budget Limits): If you prefer simple spending ceilings, open Budget Limits to set monthly caps per category. The system tracks your spending against limits and alerts you at 90% and 100% burn.
- Option B: Zero-Based Envelope Budgeting (Active Planning): If you want to give every pound a job, open the Budget screen. Assign all available cash into envelopes (Everyday Spending, Annual Bills, Goals, Credit Cards, Buffers) until
Ready to Assign = £0.00. - 1-Click Migration: If you start with Budget Limits and later decide to try Envelopes, you can run a 1-click preview to automatically convert your limits into cash-backed envelopes with zero lost data.
Step 6: Create Savings Goals (Physical vs. Virtual)
Earmark money toward your financial goals without losing track of your daily cash buffer.
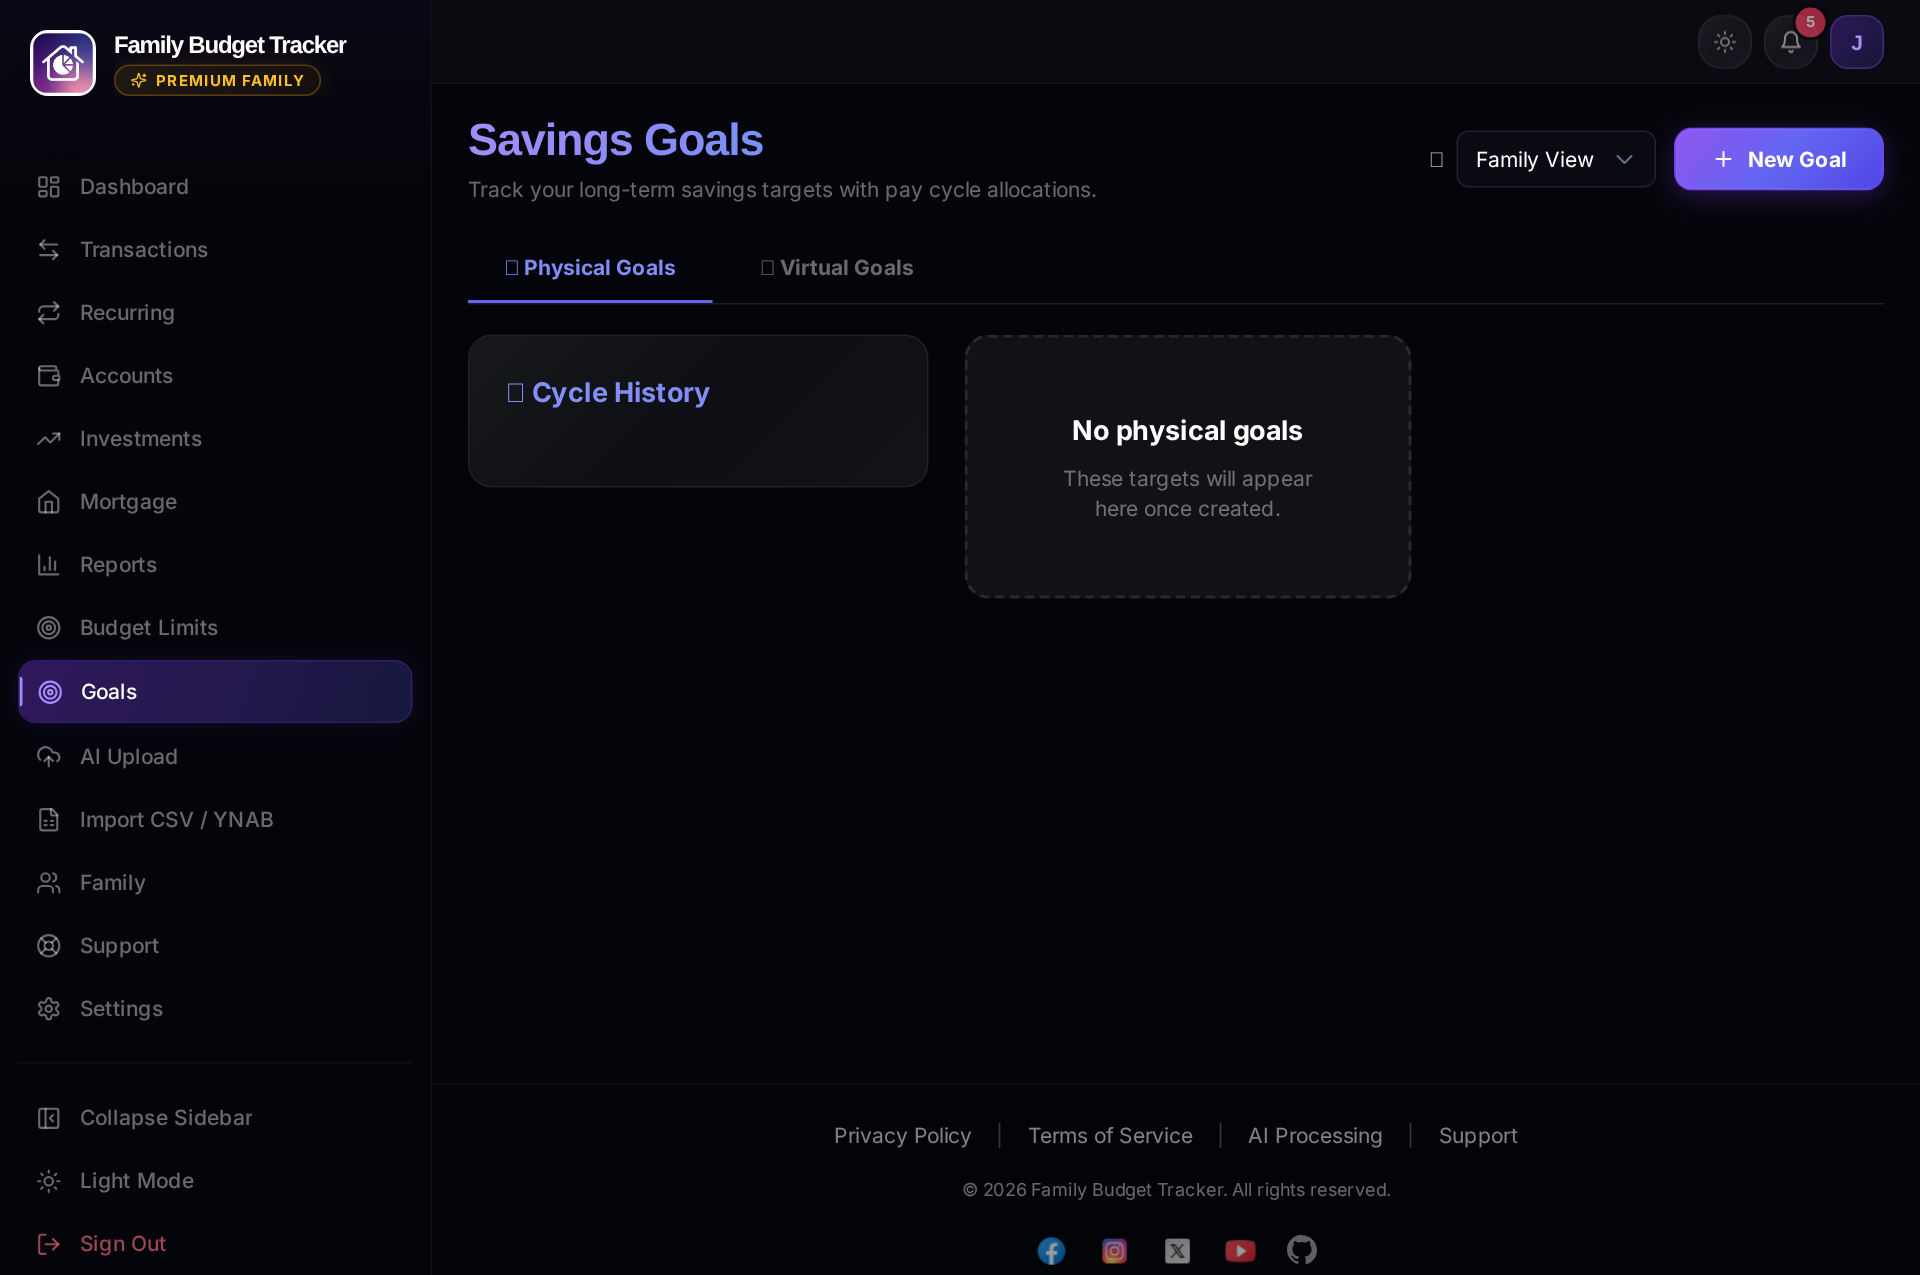
- Physical Goals (Dedicated Account): Use when you physically transfer money into a separate savings account (e.g. Emergency Fund). Use the "Log Transfer" button when you transfer funds.
- Virtual Goals (Mental Envelopes): Earmark money that remains inside your checking account (e.g. Holiday Fund). Click "Quick Fund" to instantly allocate money and deduct it from your "Safe to Spend" without moving money between banks.
- Dashboard Pinning: Check the "Pin to Dashboard" toggle on any goal card to see a live progress bar on your main dashboard overview.
Step 7: Android Mobile App & Family Collaboration
Take Family Budget Tracker on the go and invite your partner or family members.
Need Assistance?
We're here to help! Email us at support@getdigraw.com.